How to Create a Work Order
Watch the Video Tutorial:

*Note: Any field marked with a red checkbox ( ) is required.
-
Click on the New Request tab.

-
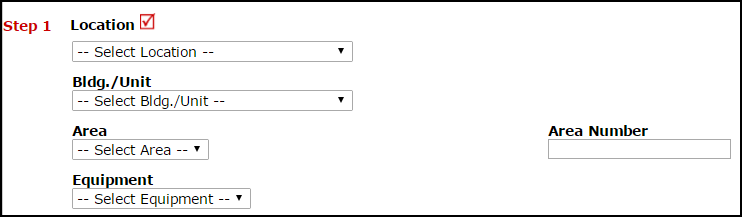
Identify where the work needs to be done by selecting a Location.
-
If your organization utilizes the Bldg./Unit field, select one from the drop down menu.
-
If applicable, select the general Area type that best fits the location of the work request.
-
Enter the specific area in the Area Number field. *Note: The Area Number field is a free text field and you can enter specific room names or numbers here.
- If applicable, select the Equipment that will be tied to this work request.
- Select the Priority for the work order.
-
Select the appropriate Problem Type that best describes the request/issue you are reporting.

- Type in a Description of the problem.

- The Contact Information fields will already be filled in with your information.

- If there are images or documents that need to be attached, click on the Attach New File link. *Note: You can attach up to two images per work request.
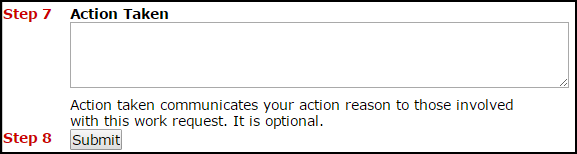
- If applicable, enter Action Taken notes to describe what was done to complete the work. This field is optional.
- Click the Submit button when you are finished. *Note: Your new requests are automatically shown as approved by you on submit when the request is routed to you by the system.